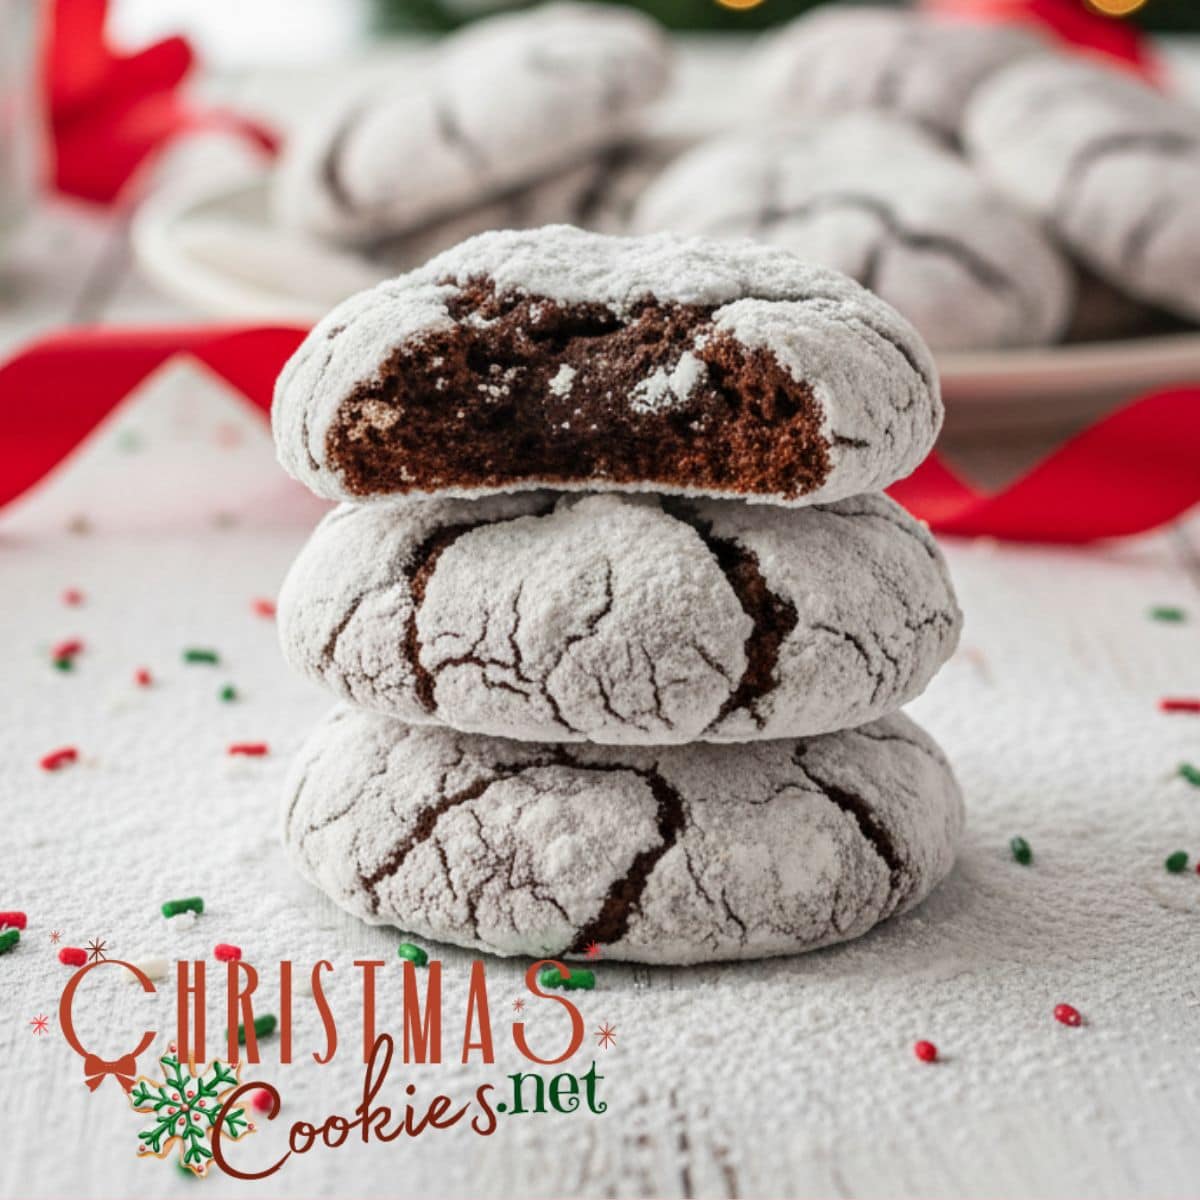
Chocolate crinkle cookies are the ultimate holiday indulgence, boasting a rich, fudgy, brownie-like center and a stunning, snow-dusted exterior. These iconic treats, known for their distinctive cracked powdered sugar coating, aren't just a feast for the eyes; they promise the delightful taste of rich chocolate flavor in every bite.
Why You'll Love This Recipe
- Fudgy & Delicious: Every bite is packed with rich chocolate flavor.
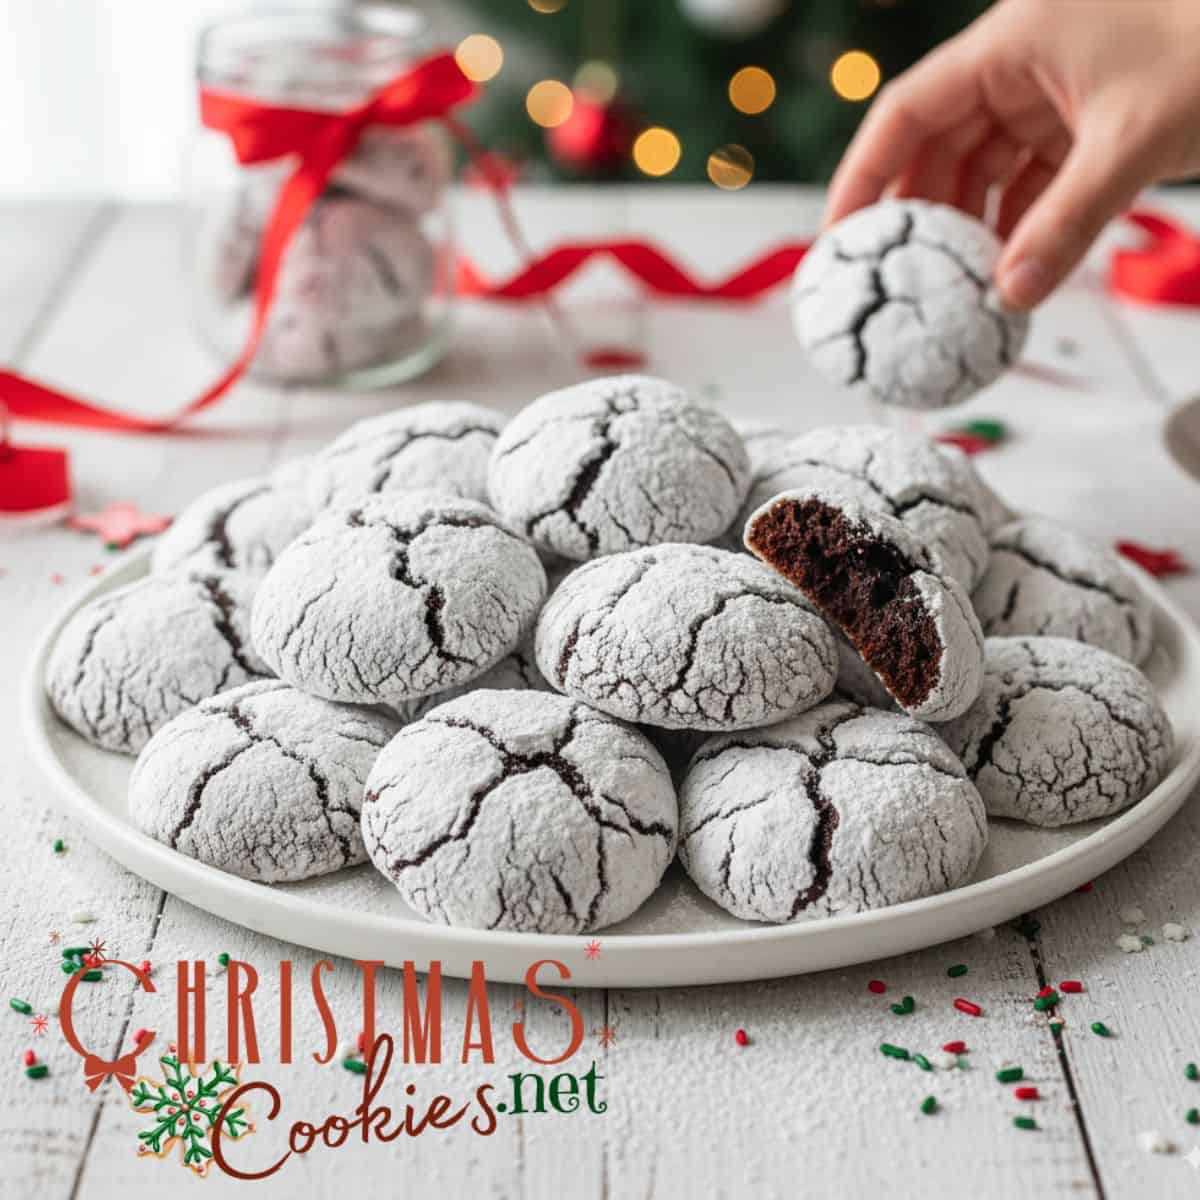
- Beautiful Presentation: The powdered sugar coating creates an iconic, festive look.
- Perfect for Holidays: A staple for Christmas cookie platters, potlucks, and gifts.
- Freezer-Friendly: Dough and baked cookies can be frozen for later enjoyment.
Let's get baking!
Ingredients
- 1 cup (2 sticks) butter, melted
- 1¾ cups granulated sugar
- 4 large eggs, at room temperature (this helps with emulsification)
- 1 teaspoon pure vanilla extract (up to 2 teaspoons)
- 2 cups all-purpose flour
- ¾ cup unsweetened cocoa powder (Dutch-processed for a darker color and milder flavor, or natural for a more intense chocolatey tang)
- 2 teaspoons baking powder
- ¼ teaspoon salt (more with unsalted butter)
- ½ cup powdered sugar, for rolling (plus extra if needed)
Instructions
Yields: Approximately 3-4 dozen cookies
Prep time: 20 minutes (plus 4+ hours chilling)
Bake time: 10-12 minutes
- Melt Butter & Combine with Sugar: In a large mixing bowl, combine the melted butter and granulated sugar. Whisk thoroughly until the mixture is smooth and well combined.
- Tip: Ensure your butter isn't sizzling hot when you add the sugar; let it cool slightly for a minute or two after melting.
- Add Eggs & Vanilla: Beat in the eggs, one at a time, ensuring each egg is fully incorporated before adding the next. Stir in the vanilla extract. The mixture should become glossy and slightly thickened.
- Tip: Using room temperature eggs helps them combine more smoothly with the butter and sugar, creating a better emulsion and a more uniform cookie texture.
- Combine Dry Ingredients: In a separate medium bowl, whisk together the flour, cocoa powder, baking powder, and salt. Whisk well to ensure there are no lumps and the leavening agents are evenly distributed.
- Gradually Combine Wet and Dry: Gradually add the dry ingredients to the wet ingredients. Mix on low speed with an electric mixer or by hand (with a sturdy spoon or spatula) until just combined. A thick, sticky dough will form. Do not overmix! Overmixing can lead to tough cookies.
- Chill Dough (Crucial Step!): Cover the bowl tightly with plastic wrap and chill the dough for at least 4 hours, or preferably overnight (up to 24 hours). This step is non-negotiable for successful crinkle cookies. Chilling firms up the dough, making it easier to handle and preventing the cookies from spreading too much, ensuring those beautiful crinkles develop.
- Preheat Oven & Prepare for Baking: When you're ready to bake, preheat your oven to 350°F (175°C). Line your baking sheets with parchment paper or silicone baking mats if you're using them. Place the ½ cup of powdered sugar in a shallow bowl.
- Tip: Have a little extra powdered sugar on hand in case you need to replenish the bowl.
- Roll Cookies: Scoop rounded tablespoons of the chilled dough (a 1-tablespoon cookie scoop works perfectly) and roll them into smooth balls, about 1 inch in diameter.
- Tip: If the dough is too sticky, lightly flour your hands or dampen them with water to make rolling easier. Don't press too hard, just gently form the ball.
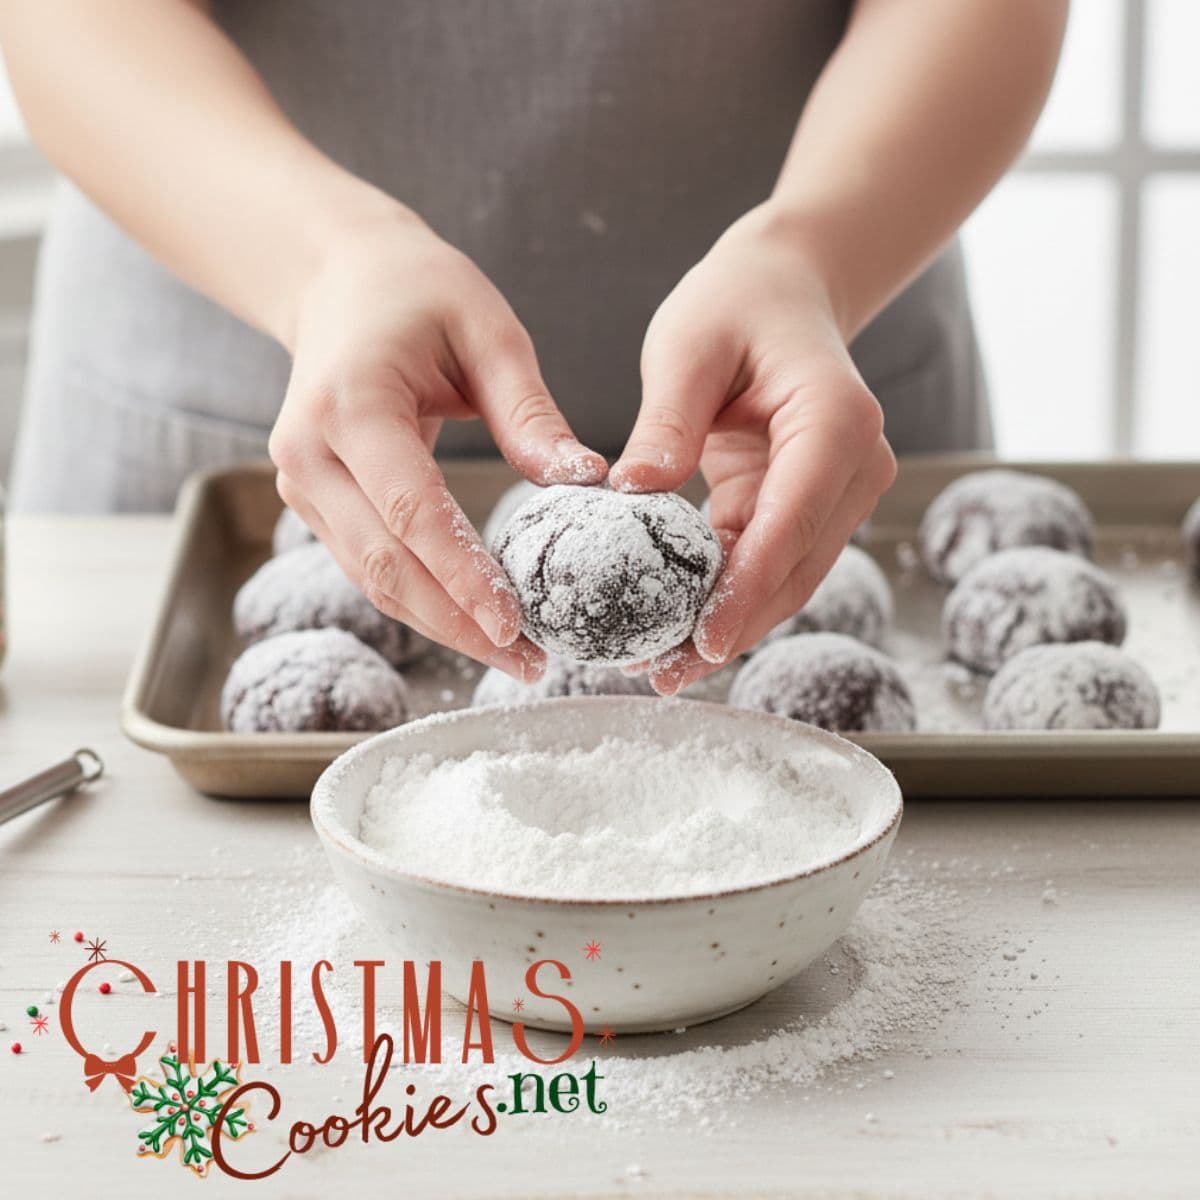
- Coat in Powdered Sugar: Roll each dough ball generously and thoroughly in the powdered sugar, ensuring it's completely coated. You want a thick, visible layer of powdered sugar. This heavy coating is absolutely essential for creating the signature crinkle effect. Place the coated dough balls 2 inches apart on your prepared baking sheets.
- Tip: Don't skimp on the powdered sugar! The more liberally you coat them, the more pronounced the crinkles will be. Try rolling in granulated sugar first, then again in powdered sugar for the best crinkle cookies.
- Bake: Bake for 10-12 minutes. The cookies will spread, and the powdered sugar will beautifully crack, creating the signature "crinkle" look. The centers should still appear slightly soft and fudgy.
- Tip: Watch them carefully! Overbaking will result in drier, cakier cookies instead of fudgy ones.
- Cool: Let the cookies cool on the baking sheets for 5 minutes before carefully transferring them to a wire rack to cool completely. They will firm up as they cool.
Tips for Perfect Chocolate Crinkle Cookies
- Don't Rush the Chill: Seriously, this is the most important tip! A well-chilled dough is key to preventing excessive spreading and achieving those gorgeous crinkles.
- Be Generous with Powdered Sugar: The more powdered sugar, the better the crinkle. Don't be shy!
- Room Temperature Eggs: This helps create a smooth, emulsified dough.
- Measure Flour & Cocoa Accurately: Use the "spoon and level" method (spoon flour into measuring cup, then level off with a straight edge) to avoid overly dense cookies.
- Don't Overbake: These cookies are best when slightly soft and fudgy in the center. They will continue to set as they cool.
- Storage: Store cooled cookies in an airtight container at room temperature for up to 5-7 days.
Chocolate Crinkle Cookies Recipe FAQs
Yes, you can! Natural cocoa powder will give your cookies a slightly lighter color and a more intense, almost tangy chocolate flavor. Dutch-processed cocoa powder results in a darker cookie with a milder, less acidic chocolate taste. Both work wonderfully!
The most common reasons for a lack of crinkle are not chilling the dough long enough (or at all), or not coating the dough balls generously enough in powdered sugar.
Also, make sure your oven temperature is accurate - use an oven thermometer to double check the temperature.
Yes, absolutely! This is a great dough for freezing in advance of holiday baking. You can form the dough into balls, coat them in powdered sugar, and then freeze them on a baking sheet until solid.
Once frozen, transfer them to a freezer-safe bag or container for up to 2-3 months. Bake from frozen, adding a minute or two to the baking time.
Yes! The dough can be made and chilled for up to 2 days in the refrigerator. Baked cookies also freeze well for up to 3 months. Thaw at room temperature.
Creative Recipe Ideas
Want to try a twist on the classic?
- Mint Chocolate Crinkles: Add ½ teaspoon of peppermint extract along with the vanilla.
- Espresso Crinkles: Add 1-2 teaspoons of instant espresso powder to the dry ingredients to enhance the chocolate flavor.
- Holiday Spice: A pinch of cinnamon or a tiny dash of cayenne pepper can add a warming note (yes, you can bake with cayenne! it's exceptional with ginger).
No matter how you enjoy them, these Chocolate Crinkle Cookies are sure to become a cherished part of your baking repertoire. Give them a try and watch them disappear!
Christmas Chocolate Crinkle Cookies
Ingredients
Equipment
Method
- Melt Butter and Combine with Sugar: In a large bowl, combine the melted butter and granulated sugar. Whisk together until smooth.
- Add Eggs and Vanilla: Beat in the eggs one at a time until fully incorporated. Stir in the vanilla extract. The mixture should be glossy.
- Combine Dry Ingredients: In a separate medium bowl, whisk together the flour, cocoa powder, baking powder, and salt.
- Combine Wet and Dry: Gradually add the dry ingredients to the wet ingredients, mixing on low speed with an electric mixer or by hand until just combined and a thick, sticky dough forms. Do not overmix.
- Chill Dough: Cover the bowl with plastic wrap and chill the dough for at least 4 hours, or preferably overnight. Chilling is crucial for the dough to firm up and for the cookies to hold their shape and crinkle beautifully.
- Preheat Oven and Prepare Powdered Sugar: When ready to bake, preheat your oven to 350°F (175°C). Place the powdered sugar in a shallow bowl.
- Roll Cookies: Scoop rounded tablespoons of the chilled dough and roll them into balls, about 1 inch in diameter. This is easier if your hands are lightly floured or slightly damp.
- Coat in Powdered Sugar: Roll each dough ball thoroughly in the powdered sugar, ensuring it's completely coated. This heavy coating is what creates the beautiful crinkle effect. Place the coated balls 2 inches apart on ungreased baking sheets.
- Bake: Bake for 10-12 minutes. The cookies will spread and the powdered sugar will crack, creating the signature "crinkle" look. The centers should still be slightly soft.
- Cool: Let the cookies cool on the baking sheets for a few minutes before transferring them to a wire rack to cool completely.